Build an app with tirggers
Before you begin
This tutorial provides an overview of the application development process, helping developers get started quickly and develop application with ideal functionality.
This tutorial will implement a simple log reporting app, through custom functions and event-related triggers, when users create and delete items, capture item information and make requests, and show the necessary processes and steps for development.
Before you begin, make sure you have the following environment installed locally:
Step 1: Create app
- install/update
@giteeteam/apps-cli
npm install -g @giteeteam/apps-cli
npm update -g @giteeteam/apps-cli
- Use the cli to initialize the application.
giteeteam-apps init
-
Enter the app name and unique app_key as instructed.
-
The creation is complete, and the main directory structure is as follows:
apps_demo:
.
├── README.md
├── functions
├── manifest.yml
├── public
├── src
├── tsconfig.json
├── typings.d.ts
├── webpack.config.js
├── package.json
└── yarn.lock
Step 2: Application Development
1. manifest.yml
- The manifest describes the configuration information of the app and also serves as the navigation for various functional modules. See manifest for details.
- app: defines the basic information of the app and defines the app version.
- modules: defines the functions that contain the application logic and the different modules used by the application.
- function: defines the basic functional functions and defines the unique key of the function. In this example, two functions are defined, corresponding to the triggered functions when an item is created or deleted.
- trigger: binds the event trigger and associates the function key. In this example, the events encapsulated in the application center are used to define the trigger timing of the function.
app:
  name: apps_demo
  key: apps_demo
  version: '0.0.1'
modules:
  trigger:
    - key: item_trigger_created
      events:
        - gei:proxima:item:created
      function: created-function
    - key: item_trigger_deleted
      events:
        - gei:proxima:item:beforeDelete
      function: delete-warning-function
  function:
    - key: created-function
      handler: itemsTrigger.whenCreateItem
    - key: delete-warning-function
      handler: itemsTrigger.whenDeleteItem
2. Function Development
- Import the file in
tsconfig.json.
{
  "include": ["src/**/*", "typings.d.ts", "functions/*"]
}
- Develop the
whenCreateItemandwhenDeleteItemfunctions and place them in theitemsTriggerfile under thefunctionsdirectory. Import other functions from subdirectories using theimportkeyword.
├── functions
│   ├── itemsFunction
│   │   ├── itemsCreated.ts
│   │   ├── itemsDeleted.ts
│   │   └── sendMessage.ts
│   ├── itemsTrigger.ts
import { afterCreated } from './itemsFunction/itemsCreated';
import { afterDeleted } from './itemsFunction/itemsDeleted';

export const whenCreateItem = async ({ payload }) => {
  const { item } = payload;
  if (item?.key) {
    await afterCreated(item);
    return { code: 200 };
  }
  return { code: 400 };
};

export const whenDeleteItem = async ({ payload }) => {
  const { item } = payload;
  if (item?.key) {
    await afterDeleted(item);
    return { code: 200 };
  }
  return { code: 400 };
};
import { sendMsg } from './sendMessage';

export const afterCreated = async (item: any) => {
  // console.log("got created item:", JSON.stringify(item));
  await sendMsg(item);
  return;
};
import { sendMsg } from './sendMessage';

export const afterDeleted = async (item: any) => {
  // console.log("got deleted item:", JSON.stringify(item));
  await sendMsg(item);
  return;
};
- Develop the relevant functionality within the corresponding method, such as using
axiosto make network requests.
import { axios } from '@giteeteam/apps-api';
export const sendMsg = async (item: any) => {
  // do your job
  // exp: send message using axios
  console.log('sendMsg:', item.objectId);
  await axios({
    url: 'http://localhost:1337',
    method: 'get',
  })
    .then(response => {
      console.log('got response ', response);
    })
    .catch(error => {
      console.log('got error ', error);
    });
};
Step 3: Package and publish to the online development environment
1. Log in to the debugging environment
Use the login command (for detailed parameters, please refer to Login) to log in to the debugging environment.
giteeteam-apps login
2. Build app
Build app and the output is *.zip
yarn build-app
The build-app command is already defined in package.json.
3. Publish the application to the online development environment
Deploy the application package built in the previous step.(please refer to: Deploy)
giteeteam-apps deploy xxx.zip
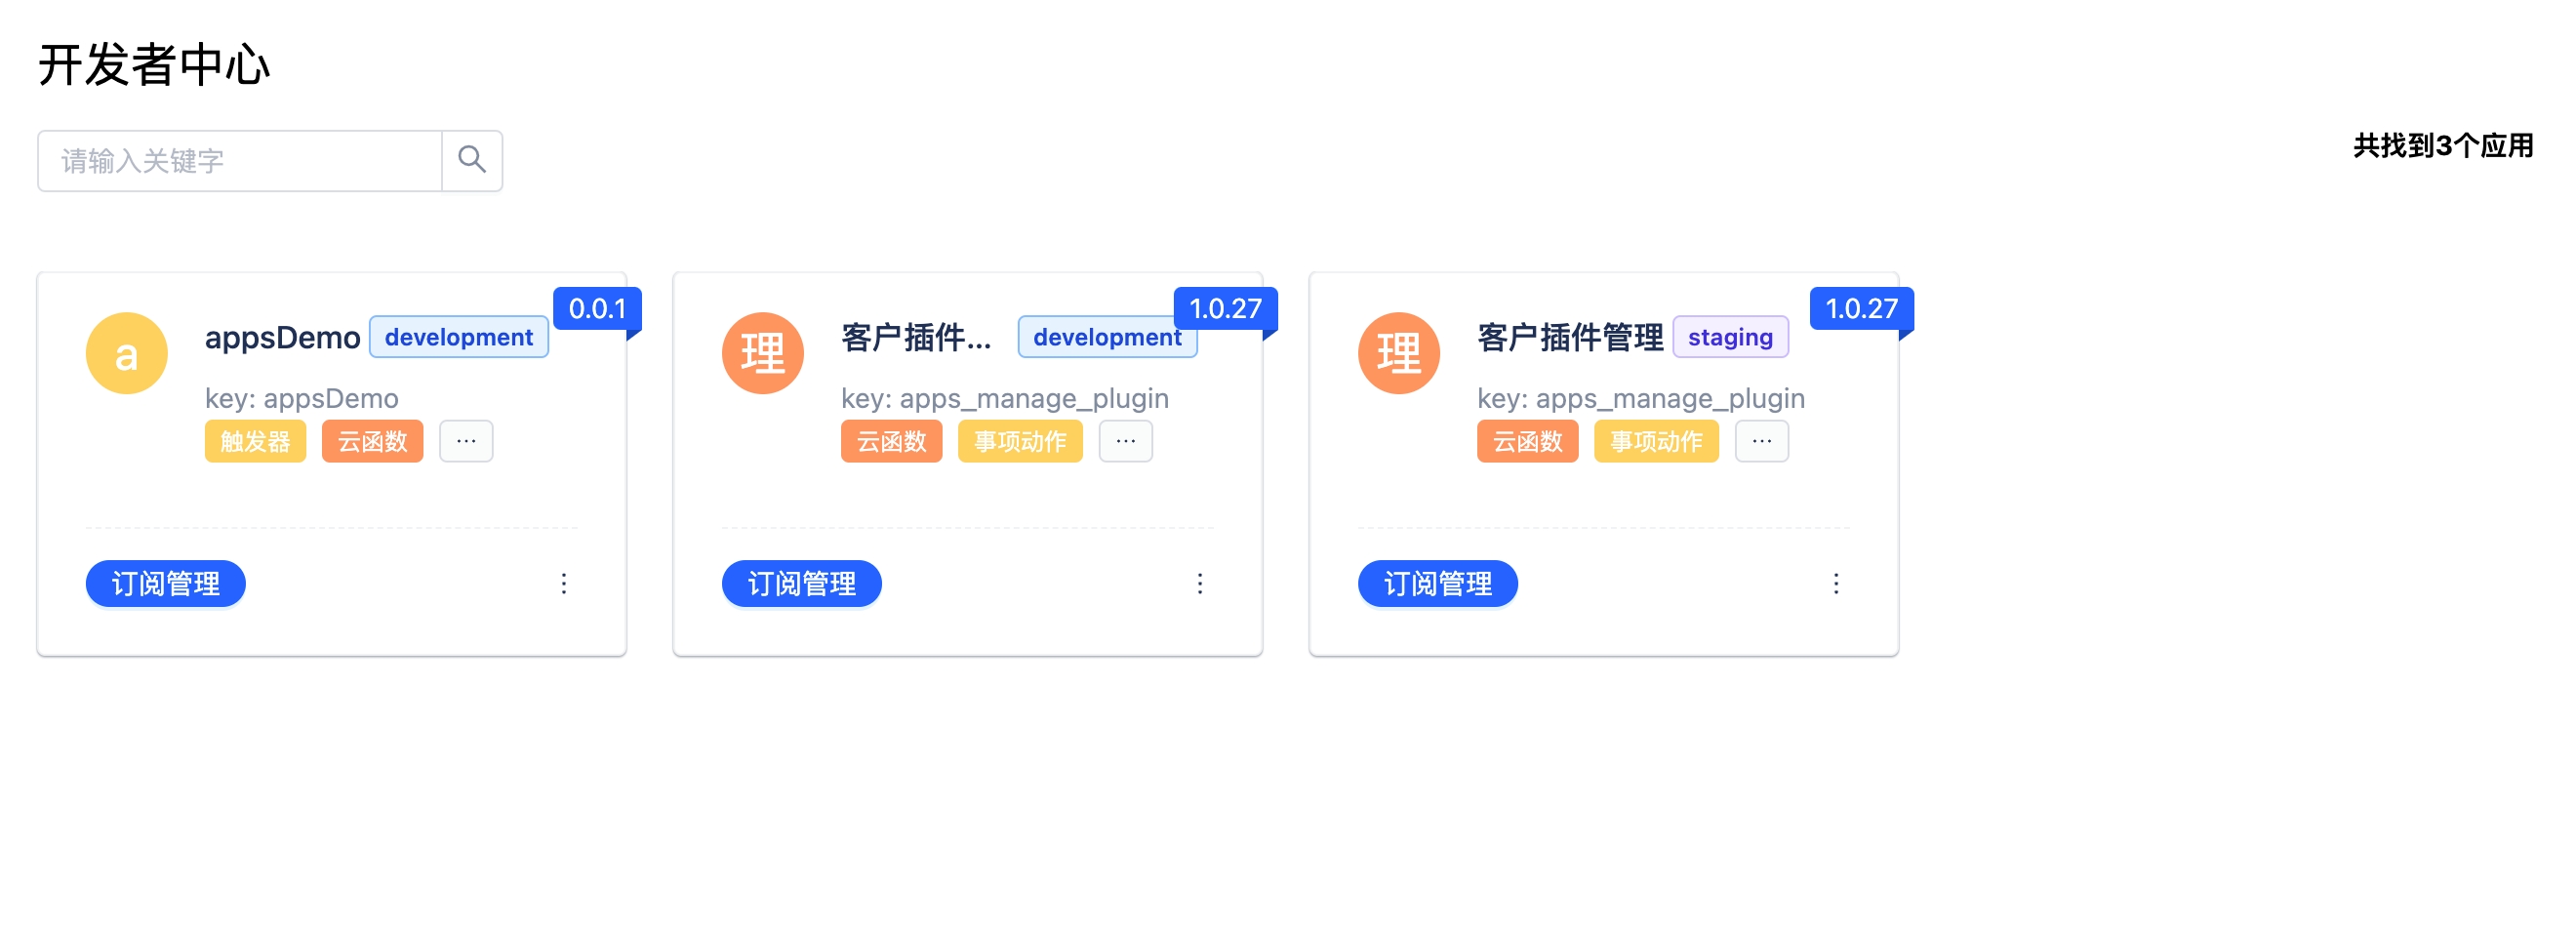
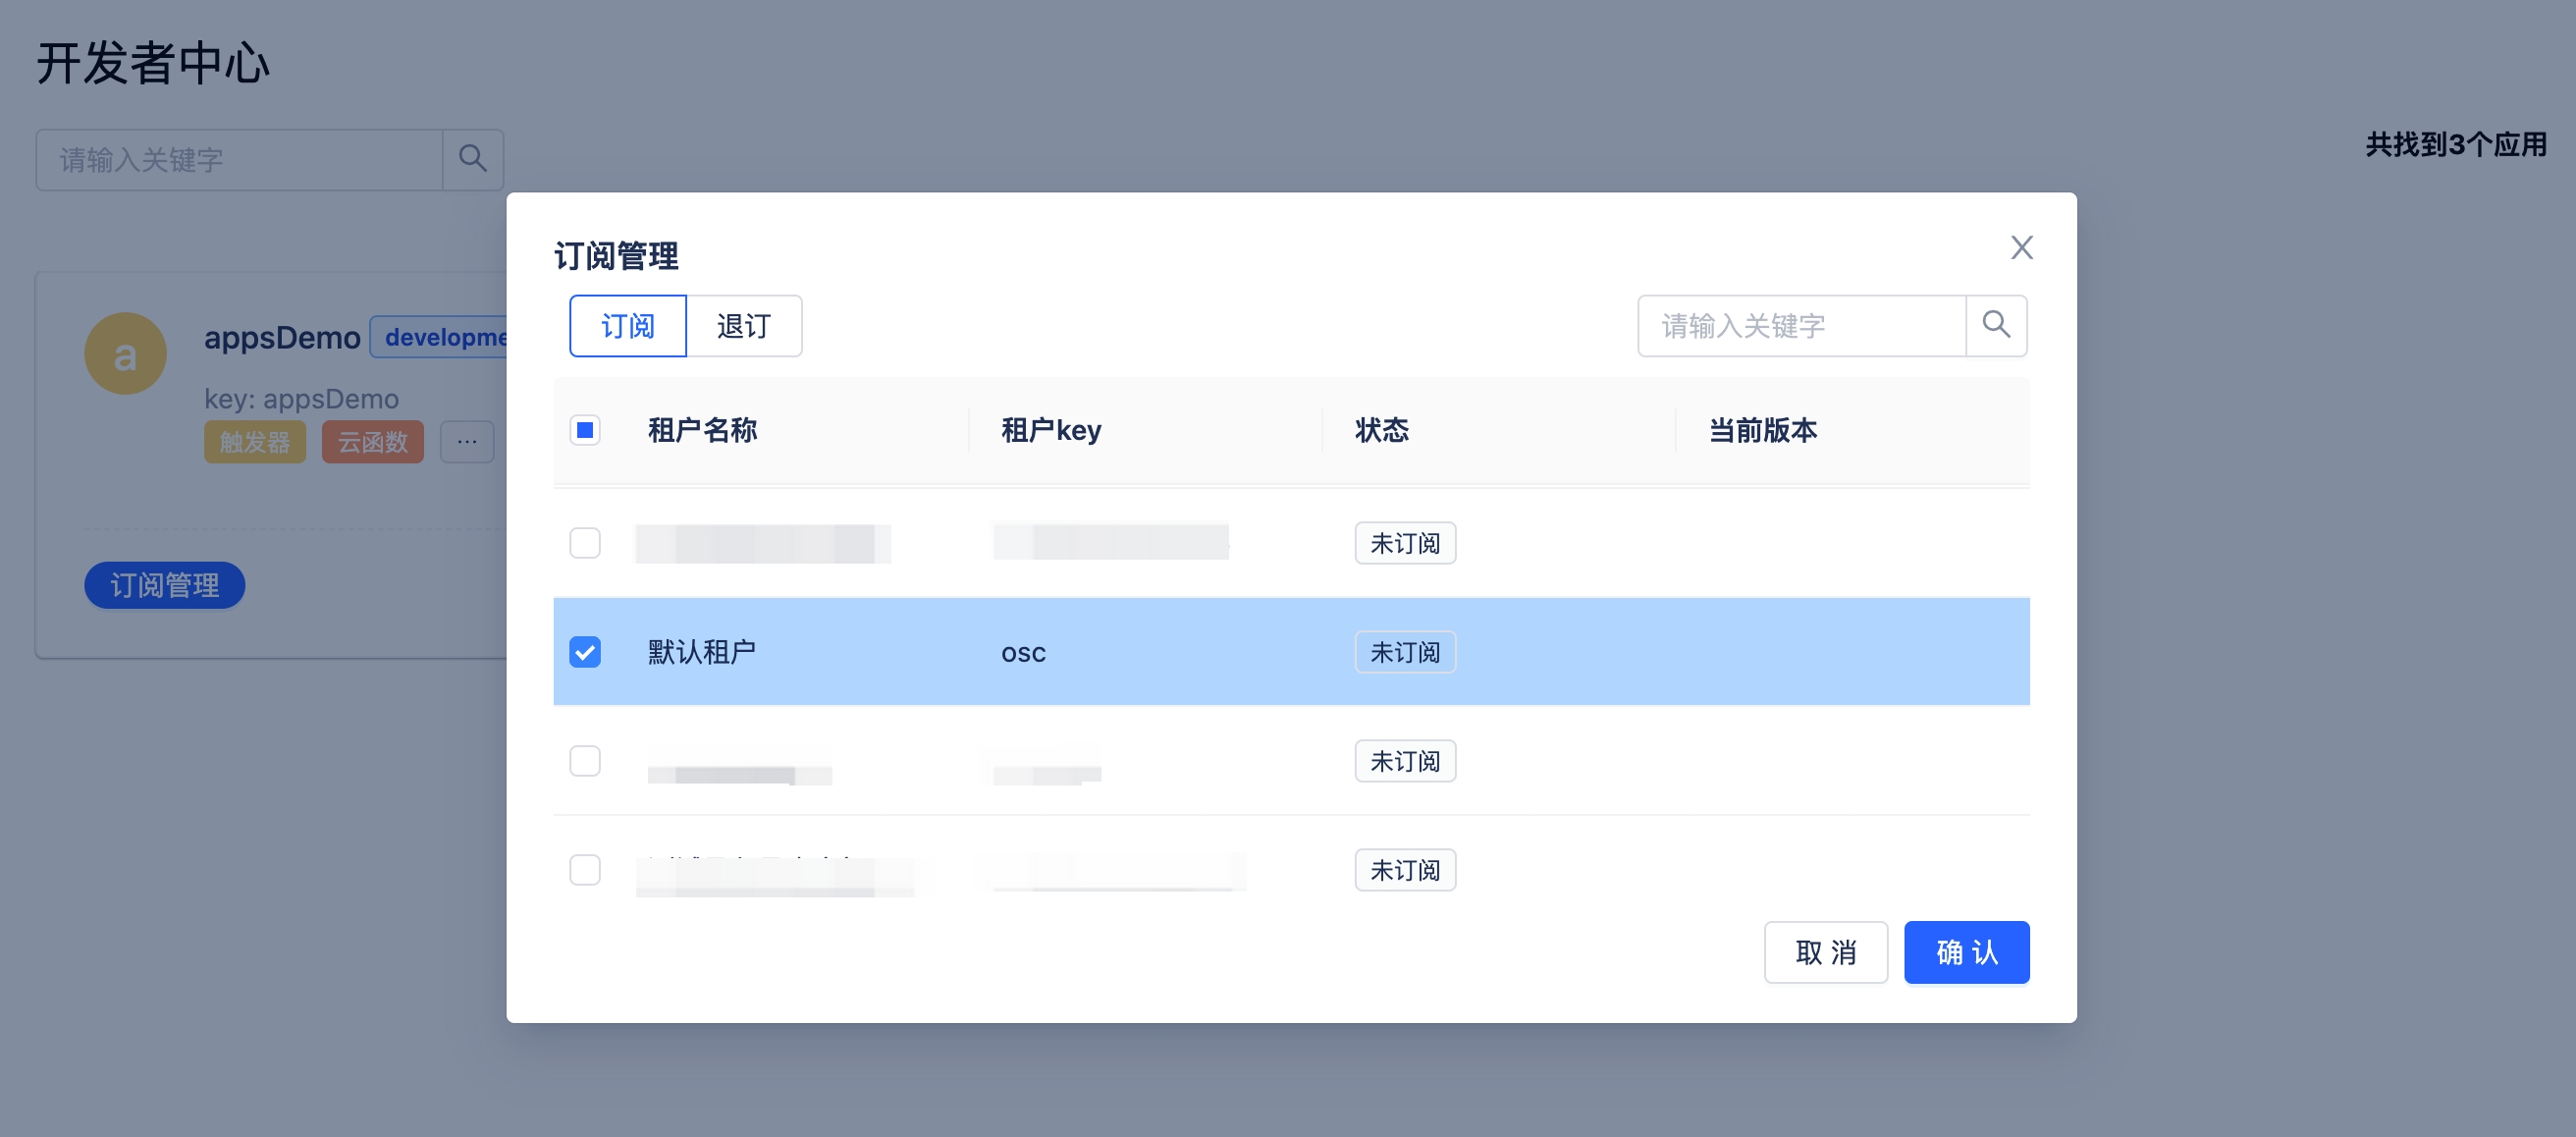
4. Subscribe the app for the tenant in the Developer Center
http://demo.com/apps/page/application/developer
Step 4: Local debugging
- Make sure that Docker is running locally.
- Use the tunnel command (for detailed parameters, please refer to Tunnel) to start local debugging.
giteeteam-apps tunnel
- Log in to the environment, create and delete items, observe the local debugging results, and debug the code.
Step 5: Online deployment
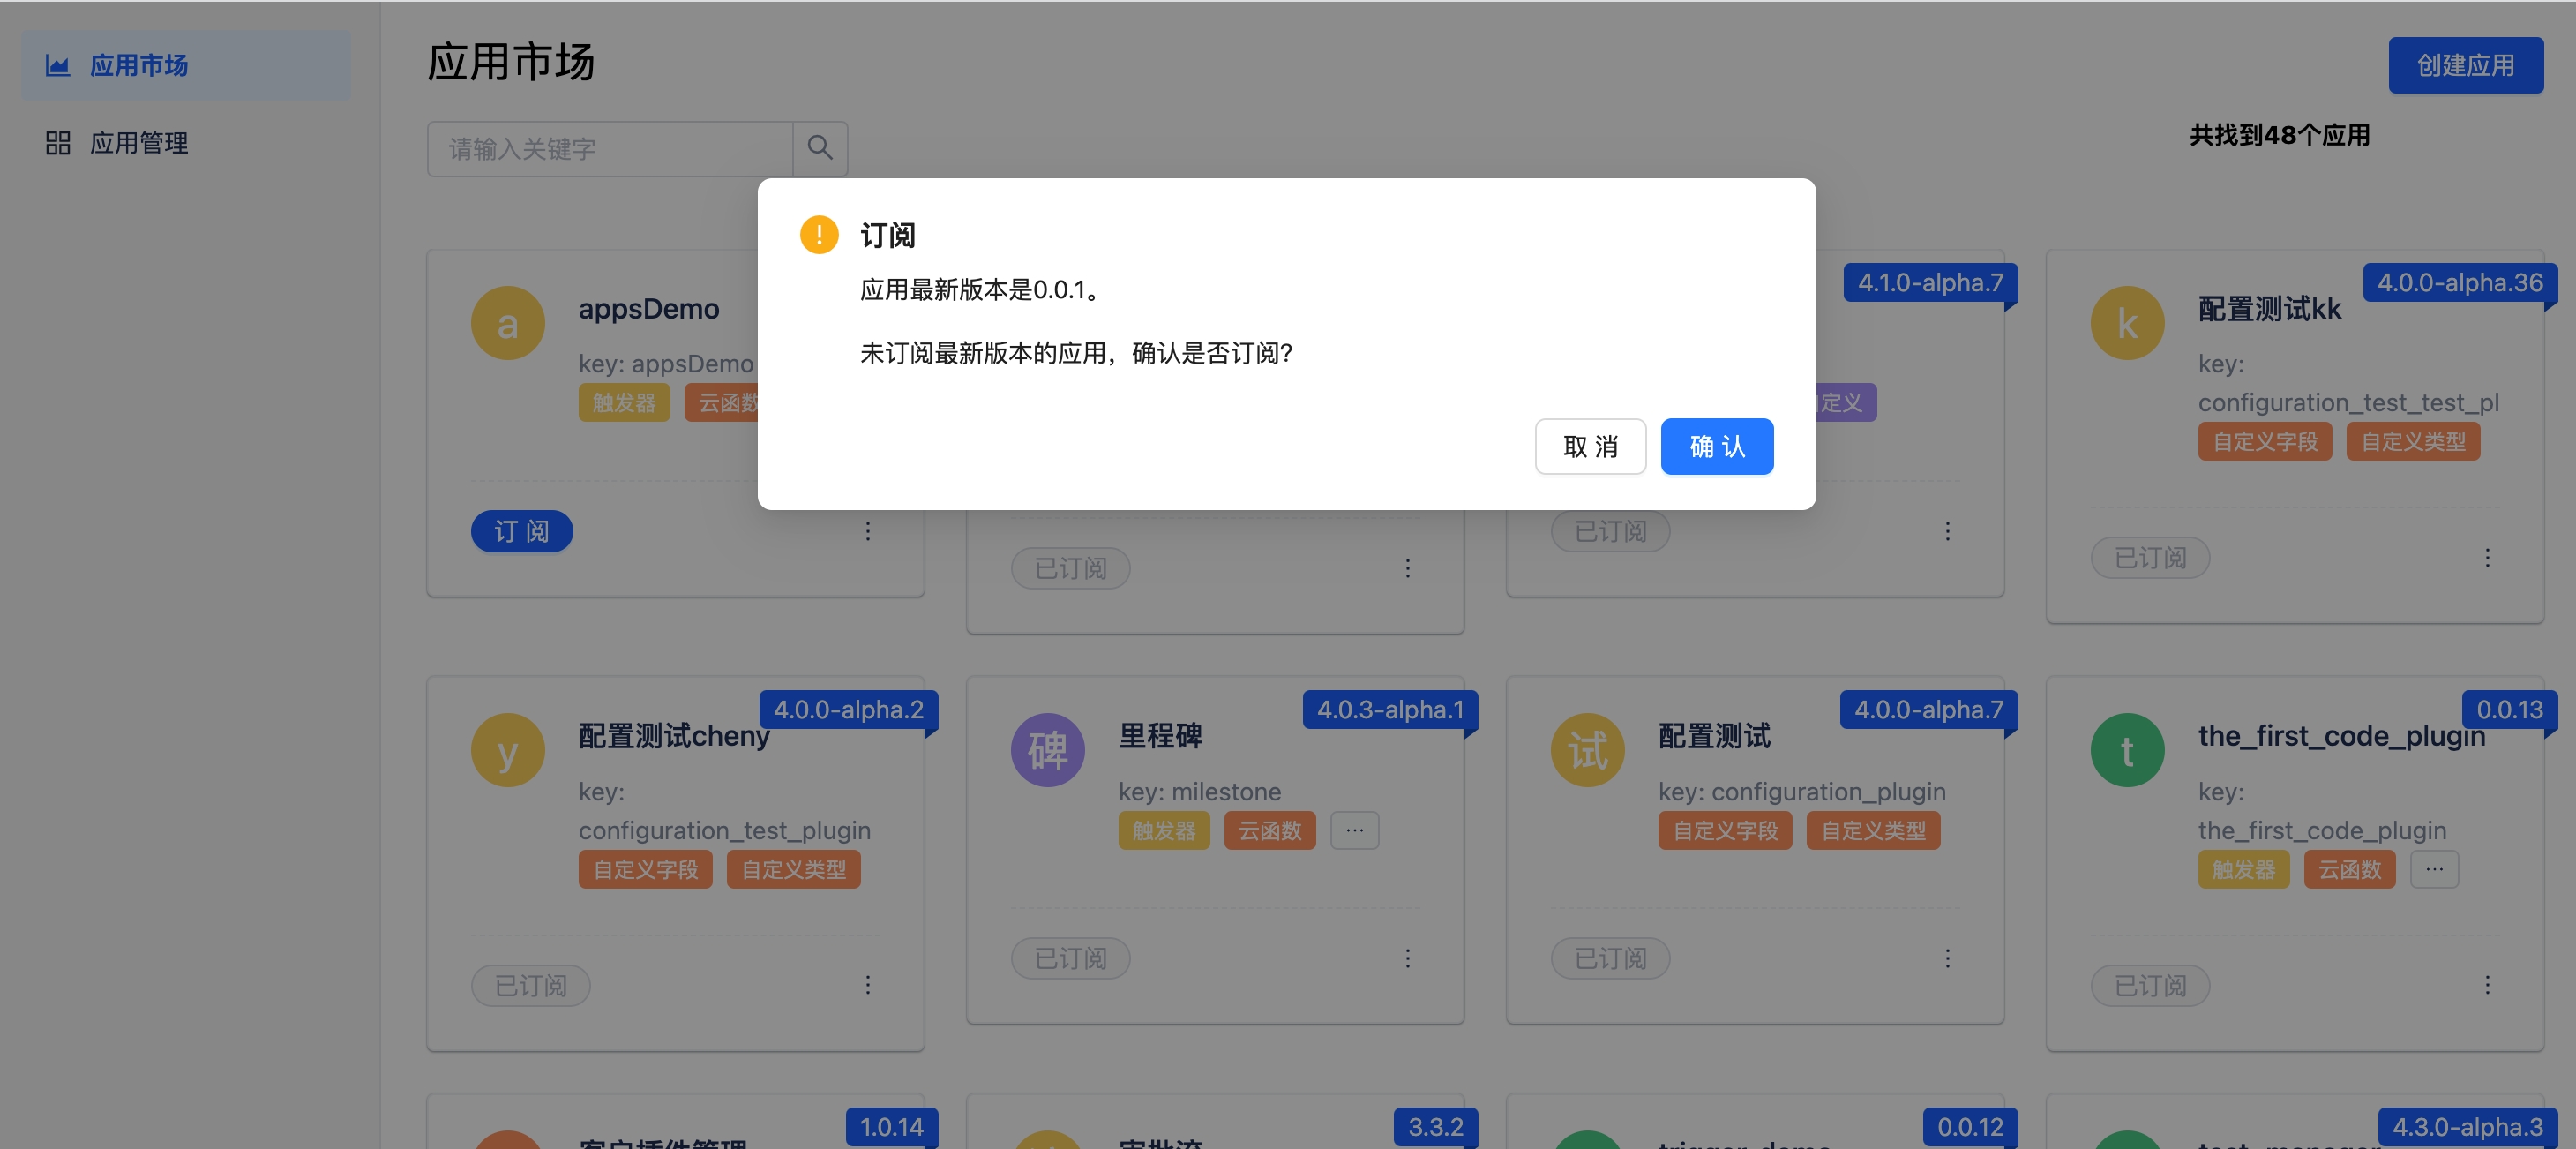
- Open the application center.
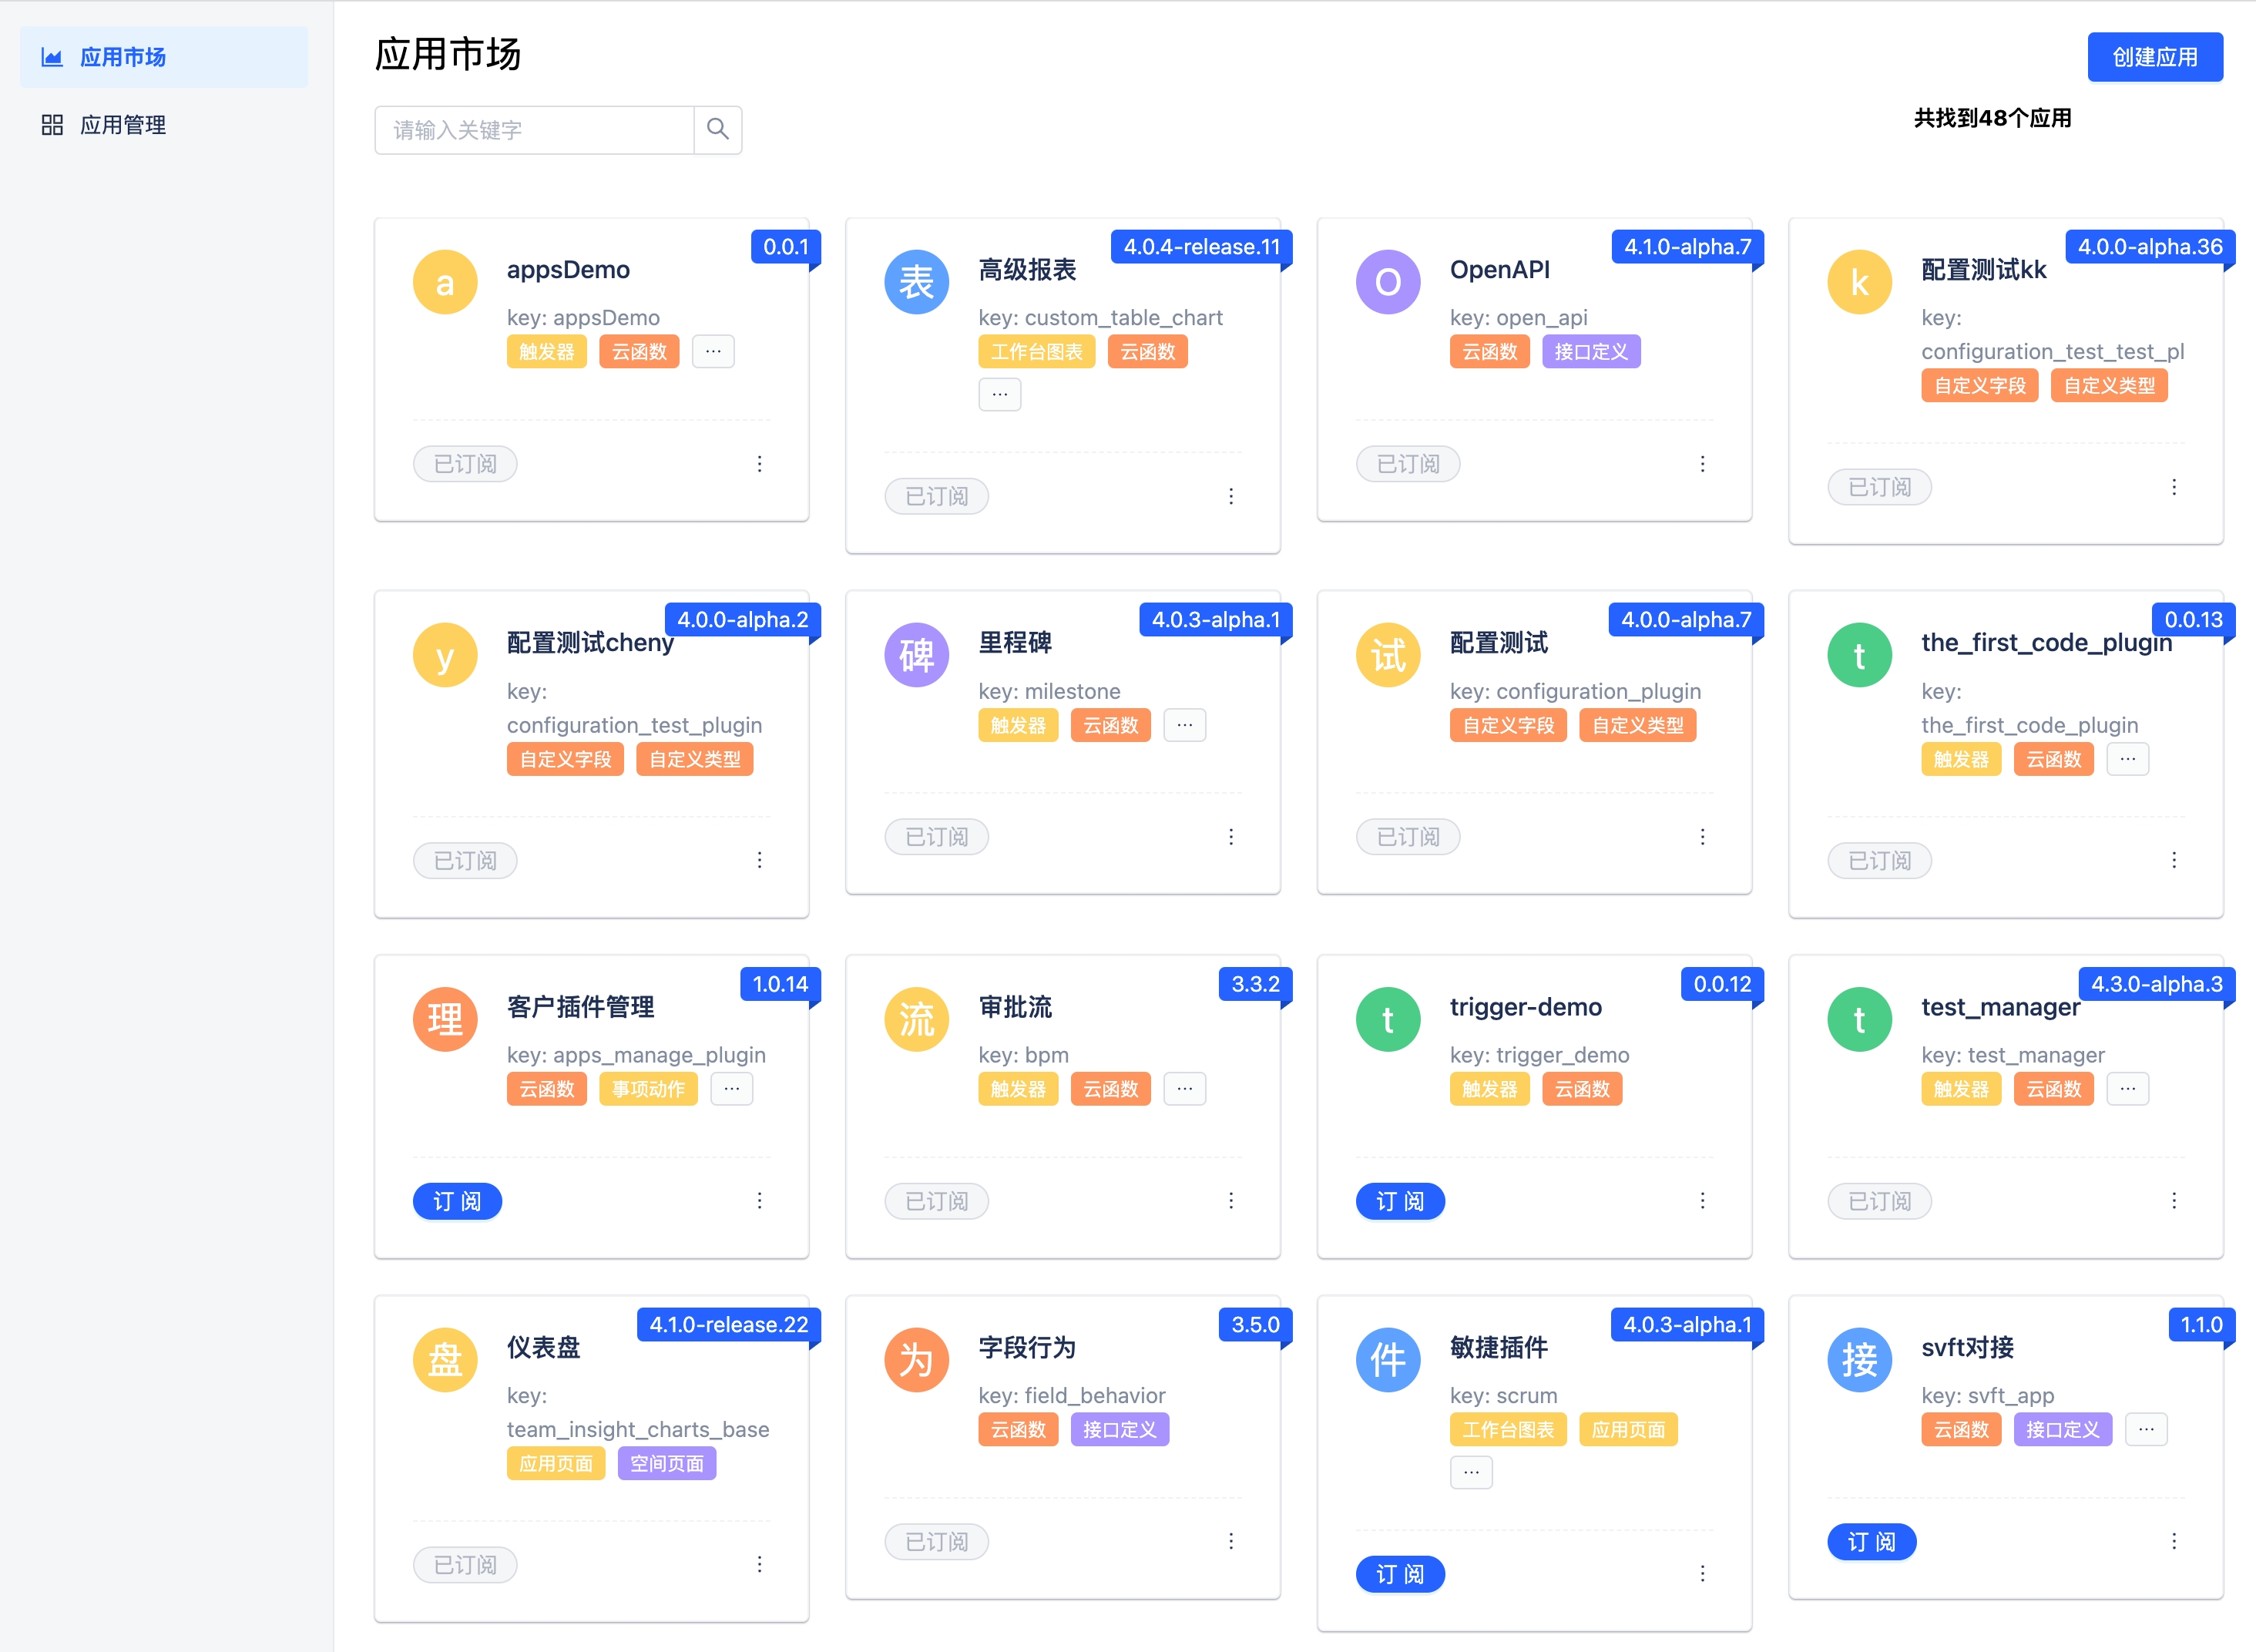
- Create an application and upload the application zip file.
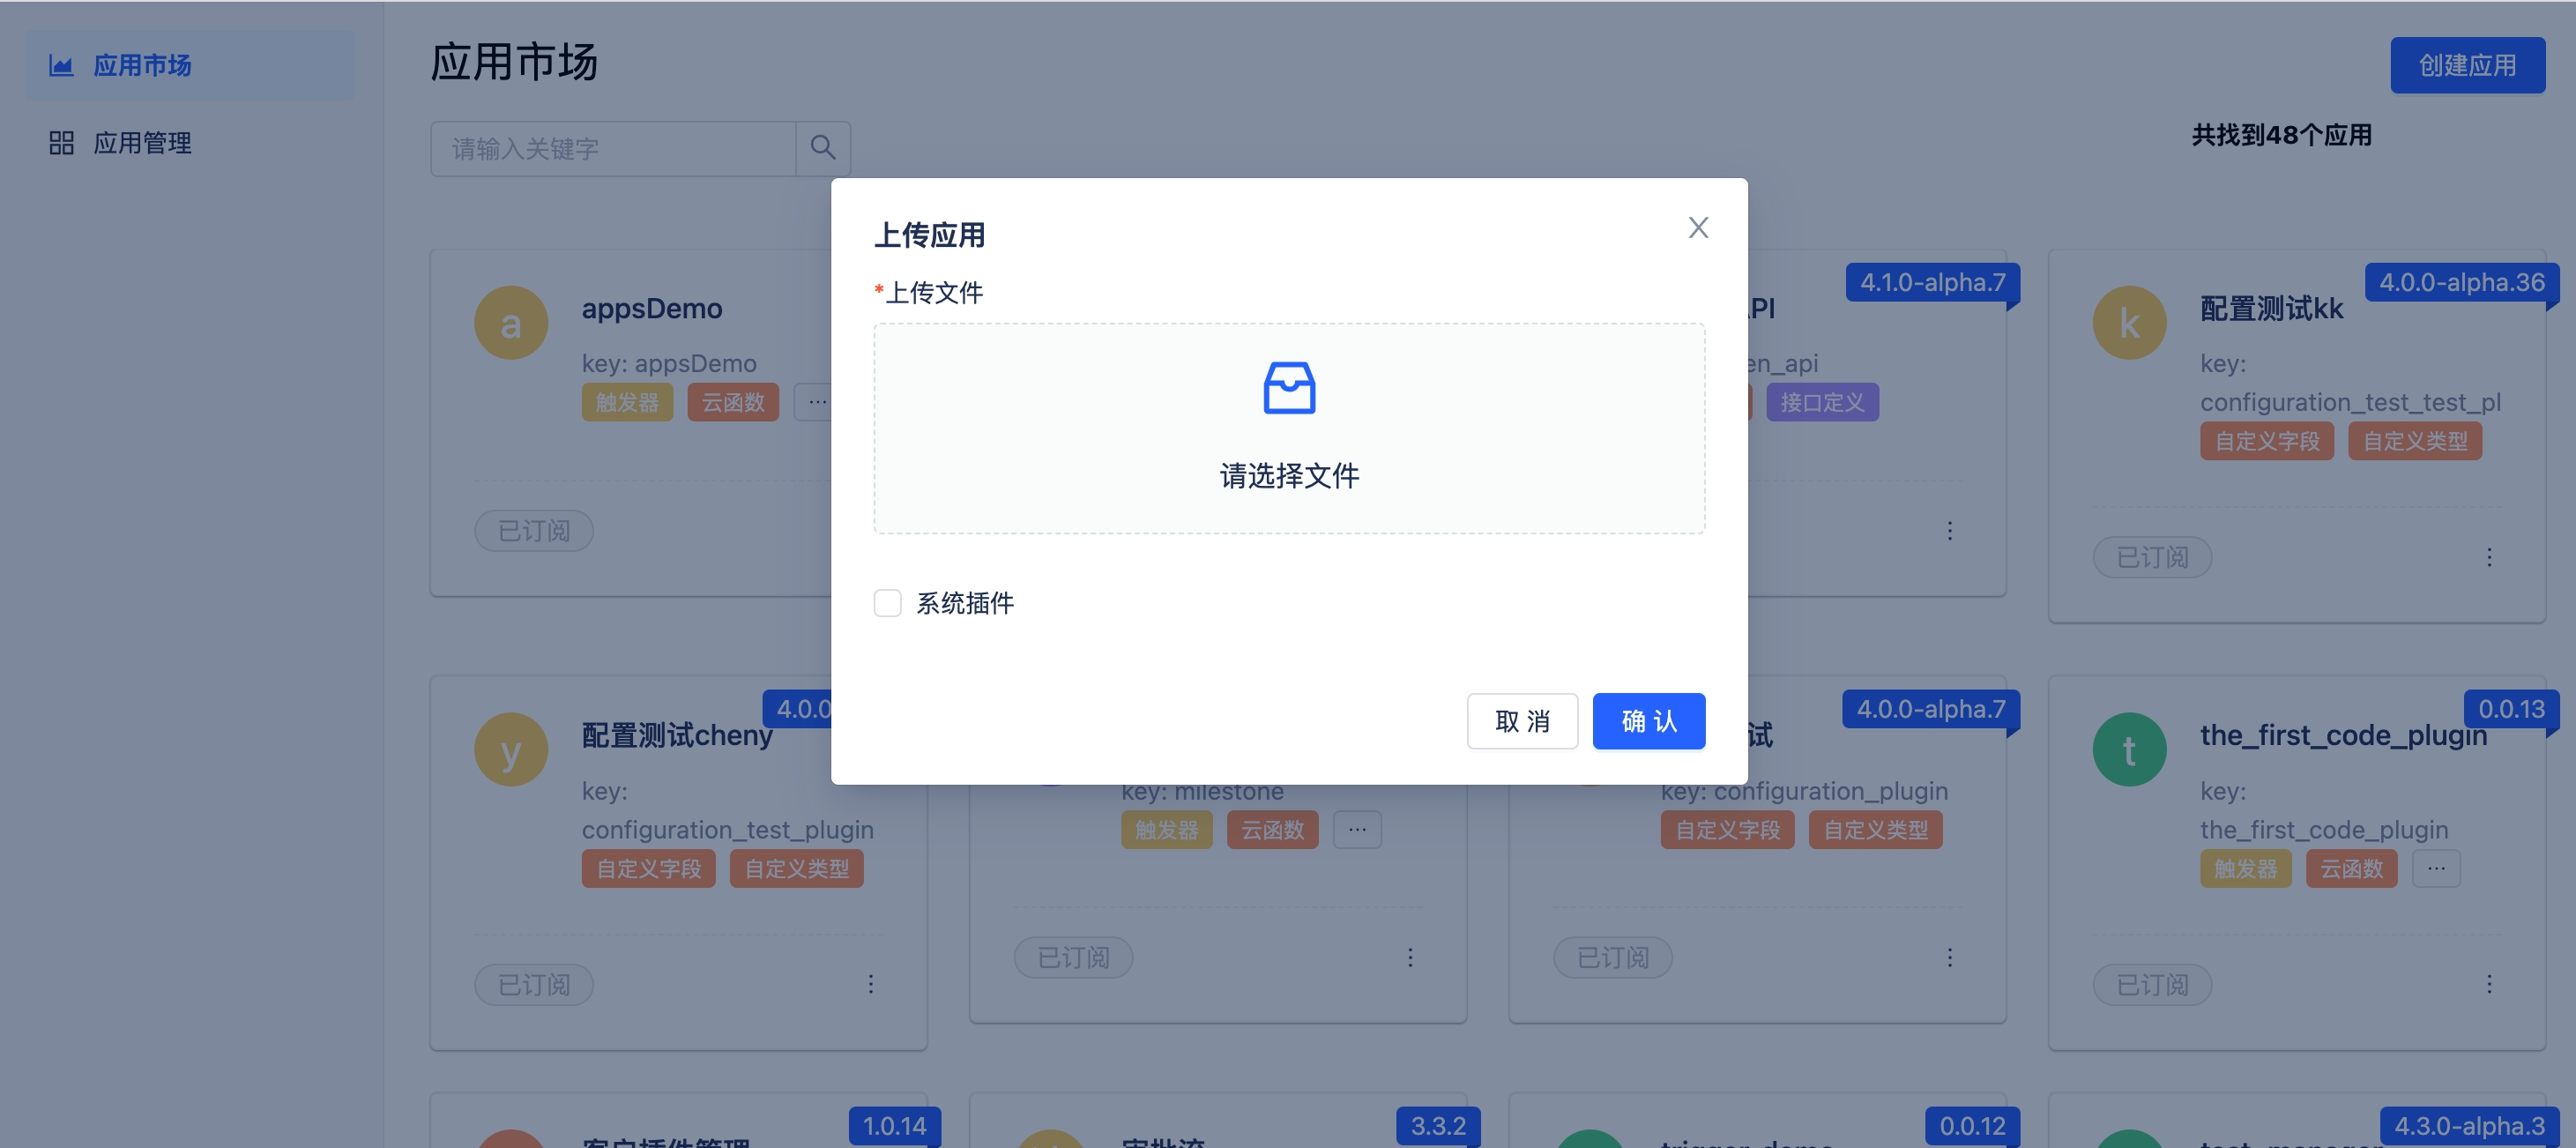
- Click "Subscribe".