Workspace Settings
Scenario Description
After a workspace is successfully created, the creator needs to add corresponding people to the project so that the corresponding roles can browse the project. Click [Workspace Settings] to enter the workspace settings page.
1. Workspace Configuration
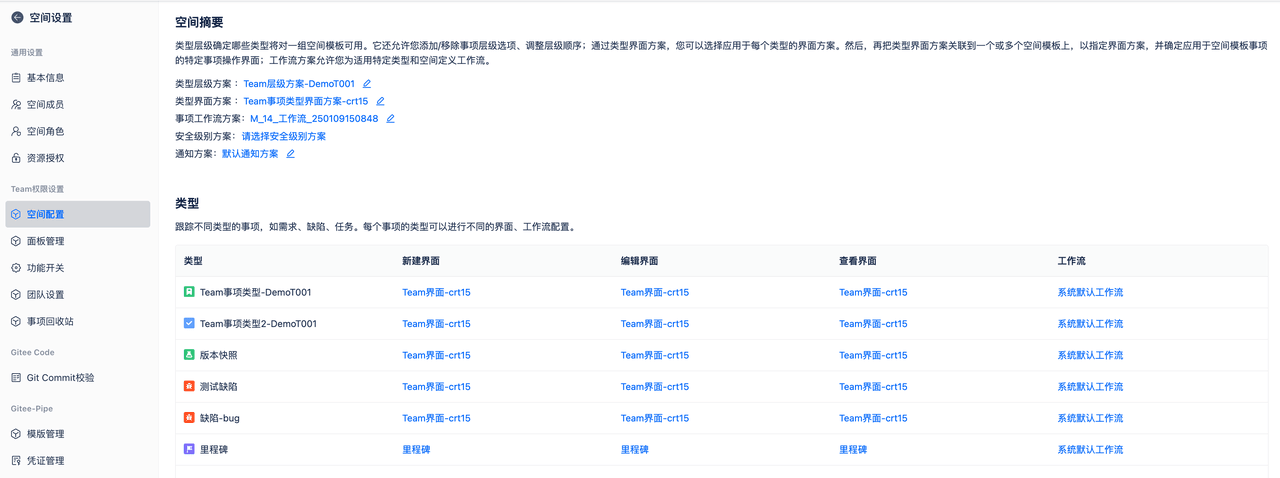 The workspace configuration page displays all configuration information within this workspace, including referenced workspace templates, issue type hierarchy schemes, issue type interface schemes, issue type workflow schemes, and security level schemes.
For different issue types, you can view their specific interfaces and workflows being used, and make modifications.
If you want to modify the configuration, you can click directly here to enter the configuration page for modifications.
2. Team Management
You can create teams within the workspace and view all created teams in the workspace. You can assign responsible teams to issues.
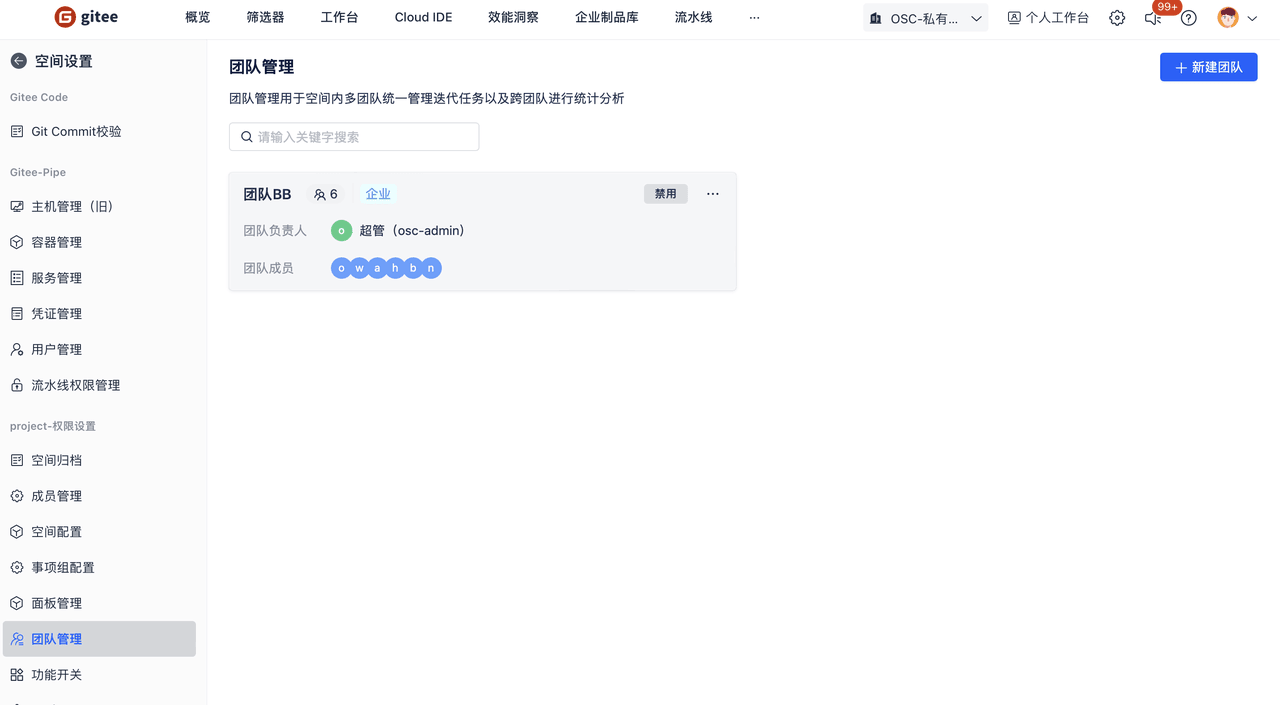
Create New Team: Click "Create New Team", enter team name and other information to create a new team.

After the team is enabled, drag the team to the corresponding interface on the interface configuration page, then select which team to assign the task/requirement to when creating new issues or editing issues.


3. Feature Switches
Set on/off switches for functions within the workspace, including team management and version functionality. When turned off, these functions cannot be used within the workspace.
4. Issue Recycle Bin
Feature Introduction: Deleted issues are stored in the recycle bin, where restoration operations can be performed.
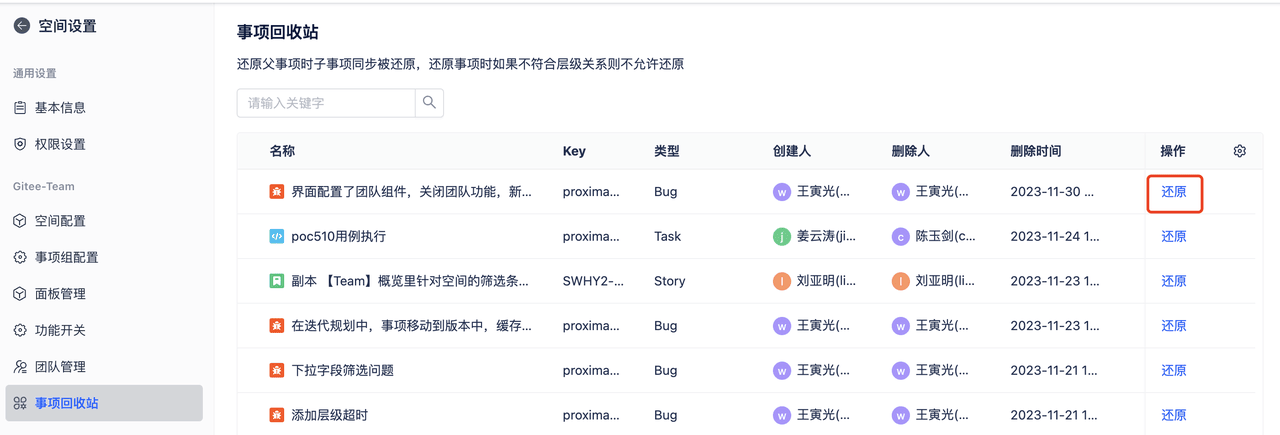 Enter the issue recycle bin page, click the issue that needs to be [Restored]. Restoration rules:
During restoration, the system checks whether the previous parent exists. If it exists, it will be restored to the previous parent issue by default. If it doesn't exist, restoration is not allowed.